创建环境
conda create -n env_name python=3.x可以先使用conda create创建一个虚拟环境,env_name为虚拟环境的名字,3.x为python的版本,例如conda create -n pytorch python=3.8

使用conda activate pytorch激活虚拟环境,conda deactivate退出环境。
CUDA版本
首先查看cuda的版本,nvidia-smi

cuda版本为10.2
官方安装
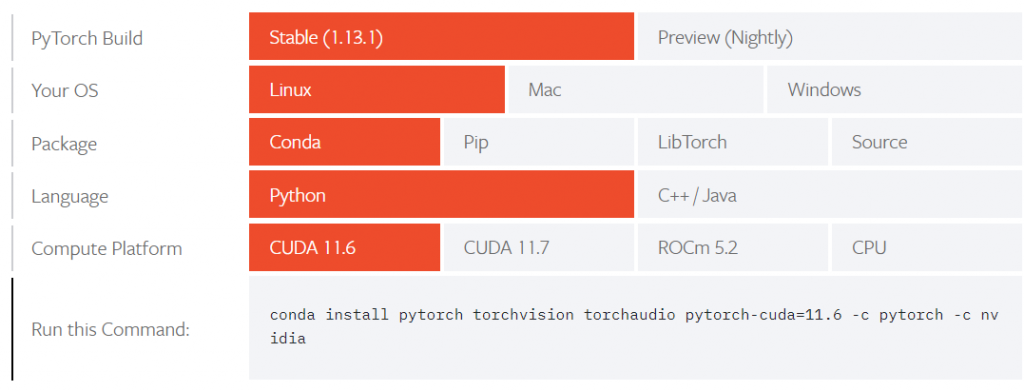
官方网站:https://pytorch.org/get-started/locally/
在官方网站点选需求可以显示安装的命令,如:

由于没有需要的CUDA版本,因此在以前的版本中寻找https://pytorch.org/get-started/previous-versions/

例如需要安装v1.12.1版本,使用Conda,Linux 或者Windows操作系统,使用如下命令:
# CUDA 10.2
conda install pytorch==1.12.1 torchvision==0.13.1 torchaudio==0.12.1 cudatoolkit=10.2 -c pytorch
使用上述方式安装的torch版本如下:

pytorch的后缀带有py3.8_cuda10.2_cudnn7.6.5_0;torchaudio、torchvision的后缀带有py38_cu102。选择y之后就会自动安装。

或者如果使用Wheel,Linux或者Windows操作系统,使用如下命令:
# CUDA 10.2
pip install torch==1.12.1+cu102 torchvision==0.13.1+cu102 torchaudio==0.12.1 --extra-index-url https://download.pytorch.org/whl/cu102
但是官方网站安装pytorch的速度较慢,因此可以选择镜像安装。把-c pytorch表示的pytorch源,更改为国内的镜像。
镜像安装
镜像地址
清华大学:https://mirrors.tuna.tsinghua.edu.cn/
阿里云:http://mirrors.aliyun.com/
镜像地址可以参考https://blog.csdn.net/djzhao627/article/details/122999240
conda install pytorch==1.12.1 torchvision==0.13.1 torchaudio==0.12.1 cudatoolkit=10.2 -c https://mirrors.tuna.tsinghua.edu.cn/anaconda/cloud/pytorch/linux-64/
检验
import torch
print(torch.__version__)
print(torch.version.cuda)
print(torch.backends.cudnn.version())
torch.cuda.is_available()      # cuda是否可用;
torch.cuda.device_count()      # 返回gpu数量;
torch.cuda.get_device_name(0)  # 返回gpu名字,设备索引默认从0开始;
torch.cuda.current_device()    # 返回当前设备索引